 |
 |
 |
 |
 |
 |
 |  |

Secret Lair of the Scary Clowns |
Saturday, October 22, 2016
Wednesday, July 06, 2016

Saturday, June 11, 2016

Wednesday, May 18, 2016
May 2016, a Queen of Hearts and a Halloween Kitty
 |
| Queen of Hearts from a Happy Heart Pattern |
 |
| Kool Kats a Laura Lunsford pattern Soft Dolls & Animals June 2016 |
Saturday, March 12, 2016

Tuesday, February 23, 2016

Sunday, February 14, 2016
Little Love Bears
Happy Valentine's Day

Sunday, January 17, 2016
Learning about photoresistors
I tried setting up a circuit that included a photoresistor and the expected outcome didn't happen. OK, let's start with something simpler, let's test if the photoresistor is working. I found several versions of this program and here is what I wrote (copied). My first compile, missed a wiggly parenthesis. After a successful compile I downloaded the code to my arduino. Hmmm forgot a step, didn't go to tools and open the serial monitor, so I couldn't see the output. Finally, got it together and the program ran successfully, so I knew I was using a working photoresistor. Now I'll go back to the original program, Circuit 6 in the Vilros handbook and try again.
const int kPin_Photocell = A0;
void setup() {
// put your setup code here, to run once:
Serial.begin(9600);
}
void loop() {
// put your main code here, to run repeatedly:
int value = analogRead(kPin_Photocell);
Serial.print("Analog Reading = ");
Serial.println(value);
if(value < 200){
Serial.println(" - Dark");
}else if (value < 400){
Serial.println(" - Dim");
}
else if(value < 600){
Serial.println(" - Light");
}
else if(value < 800){
Serial.println(" - Bright");
}
else{
Serial.println(" - Very Bright");
}
delay(1000);
}

const int kPin_Photocell = A0;
void setup() {
// put your setup code here, to run once:
Serial.begin(9600);
}
void loop() {
// put your main code here, to run repeatedly:
int value = analogRead(kPin_Photocell);
Serial.print("Analog Reading = ");
Serial.println(value);
if(value < 200){
Serial.println(" - Dark");
}else if (value < 400){
Serial.println(" - Dim");
}
else if(value < 600){
Serial.println(" - Light");
}
else if(value < 800){
Serial.println(" - Bright");
}
else{
Serial.println(" - Very Bright");
}
delay(1000);
}

Thursday, January 07, 2016
Friday, December 18, 2015
Five Below Greentech electronics toy
Five Below is a store where all goods are $5 or less. This toy
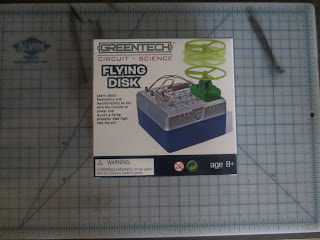
is $5 but you have to buy two AA batteries. I bought one to look inside and here is what I found.


 Nice little gizmo for $5 but would be more of an educational toy if there was an explanation of the circuit.
At least the kit is a starting point for an inquisitive child.
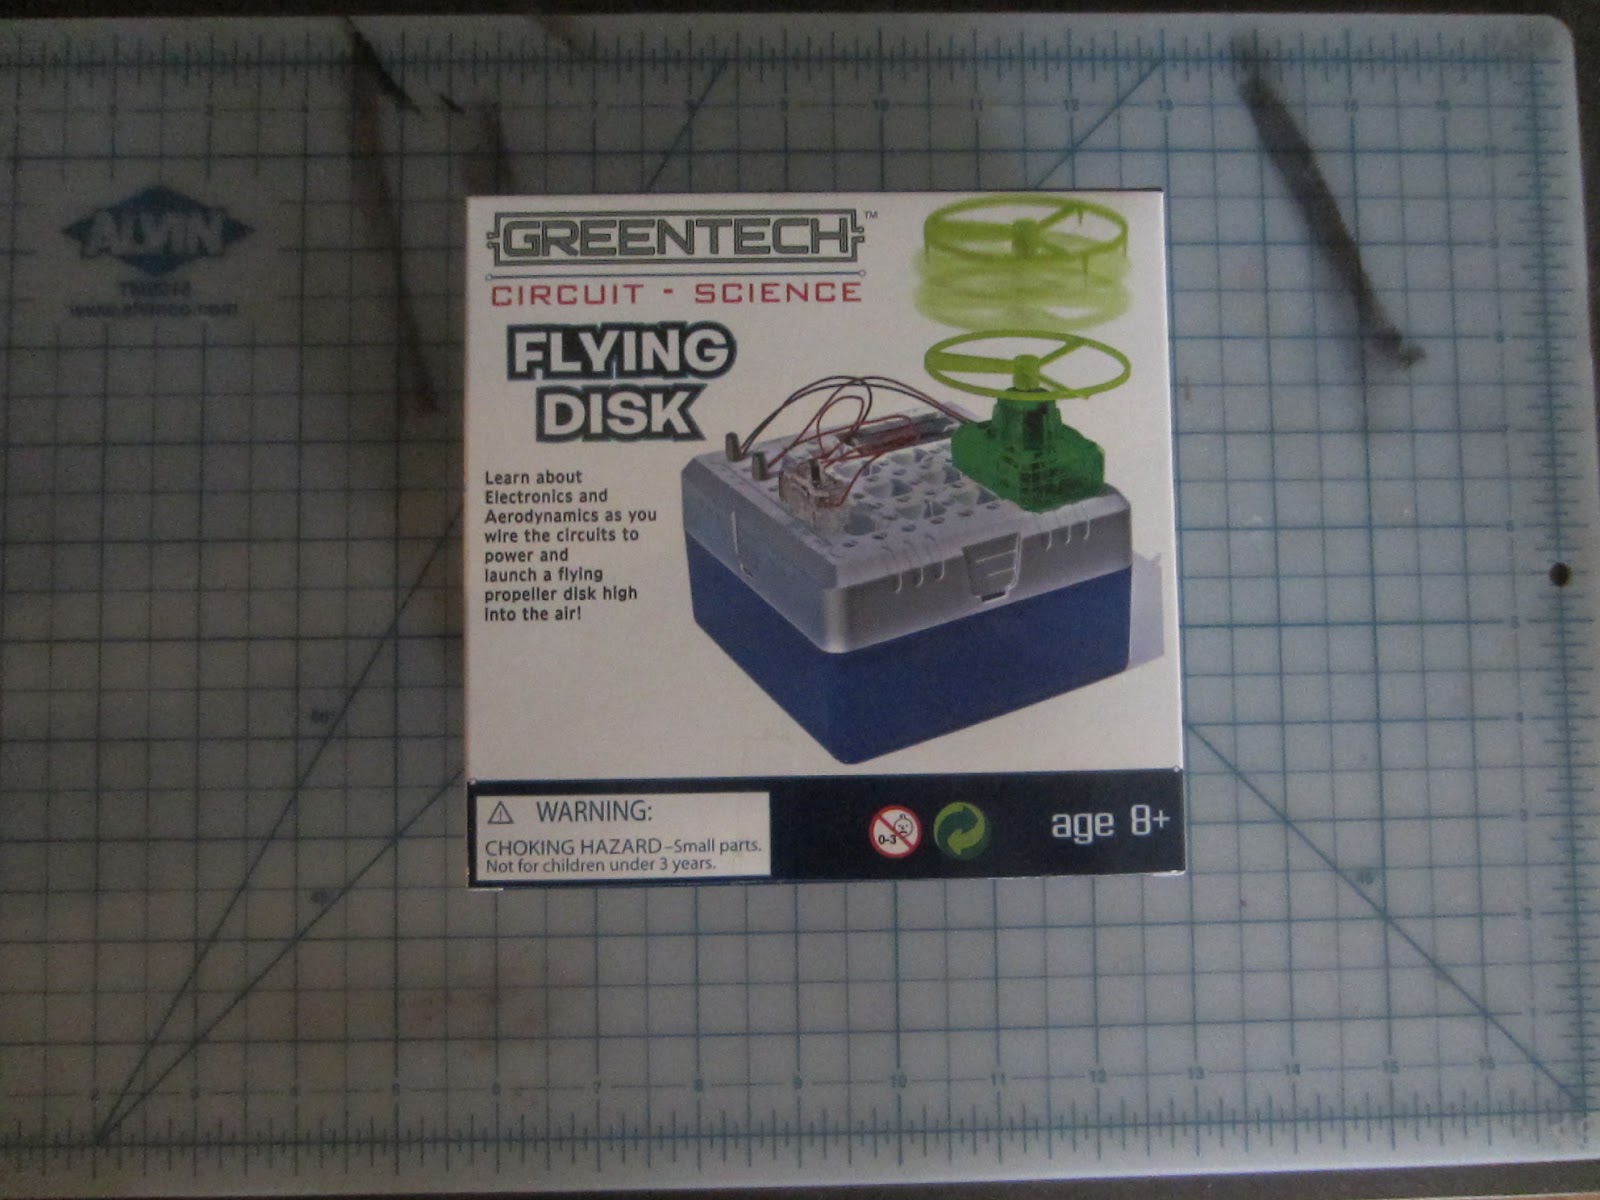
is $5 but you have to buy two AA batteries. I bought one to look inside and here is what I found.

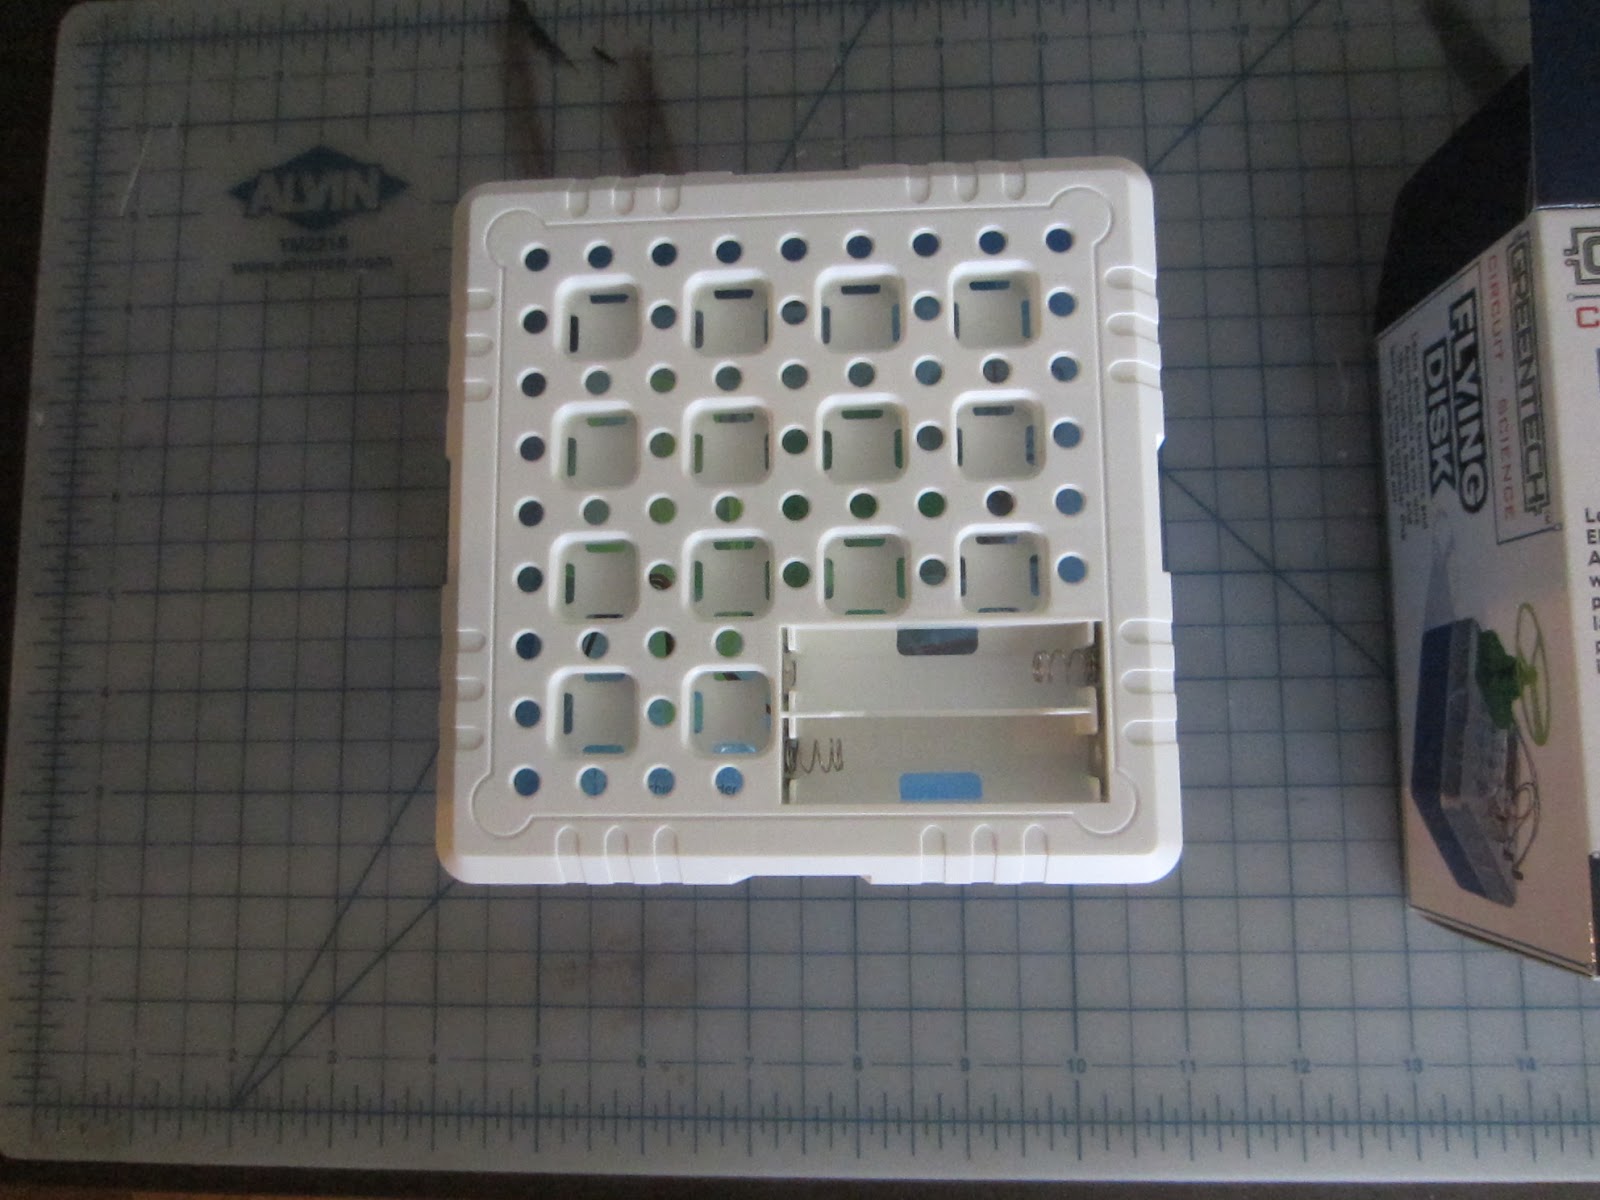

At least the kit is a starting point for an inquisitive child.
Arduino 101
This is the official successor to the Arduino Uno, the Arduino 101. Here's the story on the official arduino site. I assume that eventually it will be available in stores like SparkFun, MicroCenter and Adafruit.
Sunday, December 13, 2015
Possible successor to the Arduino Uno
SAMD21 Dev Board This board by SparkFun sounds like it could be a replacement for the Arduino Uno, low power but more powerful.
Thursday, November 19, 2015
Changing Direction, working with an Arduino
I have thoroughly enjoyed working with dolls these past years, but now I feel ready for a change. I bought an arduino and a little kit to play with electronics. Here's a photo I took at an exhibit at the Italian Cultural Institute in Manhattan. My arduino arrived the same day.


Saturday, November 07, 2015

Friday, October 30, 2015
Halloween Dolls
 |  Witch pattern by Cyndy Sieving |
| Bat Woman adapted from a pattern by Laura Lunsford in the June 2015 issue of Soft Dolls & Animals |


elinor peach bailey died May 3, 2023. Her patterns were unique, she was very much an artist.
Subscribe to:
Posts (Atom)