 |
| Angel Doll and Bingo Bag |
Saturday, March 29, 2014
Thursday, March 06, 2014

Saturday, March 01, 2014
Rag Quilt, the true story
This is a good video that sums up the steps in 10 minutes.


Step one is to cut the squares. Some instructions say to make the batting squares the same size as the fabric squares, I decided to make them smaller.

The next step is to make the sandwich, with batting the filling. Then a big X across the squares to hold the batting in place.

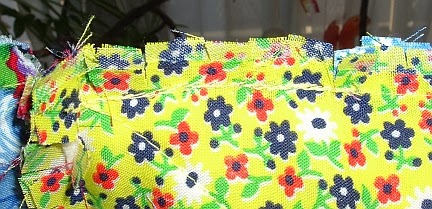
As you see, I created 6" cloth squares and 5" cotton batting squares with a pattern I made. In spite of my best efforts this is what happened. This was true of two rows, I added a strip of red fabric, to the front and back of each sandwich.

After I fixed that mistake, when I had finished sewing all the strips I discovered that on one piece I had failed to catch the fabric on one side.
Did a rip, and resewed by hand the side. After that was done, I did the cutting that creates the rag quilt. I used the Fiskars rag scissors, but any scissor with a fine serrated edge will do, and I think a regular scissors would also have a good effect.

Ready to be washed, this step assures the fuzzy edges that characterize one side of this quilt.
Here it is in all its fuzzy glory.
This is what the back of the quilt looks like.

This was a lap quilt and I've already used it while watching television.
Subscribe to:
Posts (Atom)